Category: Build Logs

  • I Blamed My Walls for Eight Months of Flaky Zigbee. It Was the USB Port.

    I Blamed My Walls for Eight Months of Flaky Zigbee. It Was the USB Port.

    For about eight months I had a running theory that my Zigbee network had a bad neighbourhood. There was a corner of the flat — bathroom, hallway, the cupboard with the washing machine — where devices went “unavailable” more often than they should. A door sensor that missed the occasional open. A temperature sensor that would go quiet for forty minutes and then dump its readings all at once. Nothing catastrophic, nothing that broke an automation badly enough to make me sit down and actually fix it. Just friction.

    I did what most people do. I bought a repeater. I moved a smart plug to act as a router. I re-paired the door sensor twice. I read threads about concrete walls and 2.4 GHz absorption and quietly accepted that my building was the problem.

    The problem was a USB port. Specifically, it was the blue USB 3.0 port on the front of my HP EliteDesk 800 G4, and the fact that I had plugged a Zigbee coordinator directly into it because that was the port facing me when I set the machine up.

    The interference is not folklore — it’s in a white paper

    This is the part I want to be precise about, because “USB 3 messes with Zigbee” gets repeated in forums with the confidence of a proverb and I always assumed it was one of those things people say. It isn’t. Intel published a white paper on it back in 2012 — document 327216, hosted by the USB-IF itself — measuring radio frequency interference from USB 3.0 devices and cables into the 2.4 GHz ISM band.

    The mechanism is not exotic. USB 3.0 signalling is scrambled by design, which spreads its energy out, and the harmonics of that broadband noise land squarely in 2.4–2.5 GHz. The paper measures the noise floor rising by roughly 20 dB near the connector. That is not a subtle nudge. Your Zigbee coordinator is trying to hear devices transmitting at a few milliwatts from across an apartment, and you have parked a noise source directly against its antenna.

    Nabu Casa know this perfectly well — their own Connect ZBT-1 documentation has a page about connectivity issues due to interference, and the first thing it tells you to do is use the extension cable. The one that comes in the box. The one I, and I suspect a great many of you, left in the box.

    The extension cable helps. It doesn’t solve the placement problem.

    My first fix was the obvious one: a one-metre USB 2.0 extension, coordinator lifted off the desk, away from the mini PC and away from the SSD. This helped immediately and noticeably. The bathroom sensor stopped dropping out. I would recommend anyone reading this do it today, before anything else, because it costs almost nothing and takes two minutes.

    But it exposed the deeper issue. The extension cable improved things because it moved the radio away from the noise — and that told me the radio’s position was doing real work. Which raised an uncomfortable question: my HP sits in a cupboard, on a shelf, behind a door, because that is where the power and the network drop are. It is in the worst possible place in the flat for a radio and the best possible place for a computer. The USB cable was letting me negotiate maybe a metre of that. What I actually wanted was to move the antenna to the middle of the flat and leave the computer where it belongs.

    Decoupling the radio from the server

    The category of device that solves this is the network-attached coordinator: instead of a USB stick, you get a small box with the same Zigbee SoC inside and an Ethernet port on the back, and your Zigbee software talks to it over TCP instead of a serial device. The one I ended up with is SMLIGHT’s SLZB-06, which uses the same CC2652P chip a lot of the well-regarded USB sticks do and takes power over PoE, so it needs exactly one cable. Zigbee2MQTT and ZHA both speak to it fine.

    I am not going to pretend this is a magic upgrade. It is the same radio family I already had. What changed is where that radio is allowed to live: it is now on a shelf in the hallway, roughly central, with nothing metal near it and nothing spraying broadband noise at it. That is the entire improvement, and the entire improvement turned out to be enough. The corner of the flat I had written off as structurally cursed behaves normally now. I stopped needing the repeater I bought to paper over the problem.

    There is a second, less obvious benefit I did not anticipate: my coordinator is no longer physically bound to my server. When I next rebuild the HP — and I will, because that is what this blog is — I can pull the machine out of the cupboard without tearing down the Zigbee network. The radio stays up. That is a small thing that turns out to matter a lot in a home where other people expect the lights to work while I am tinkering.

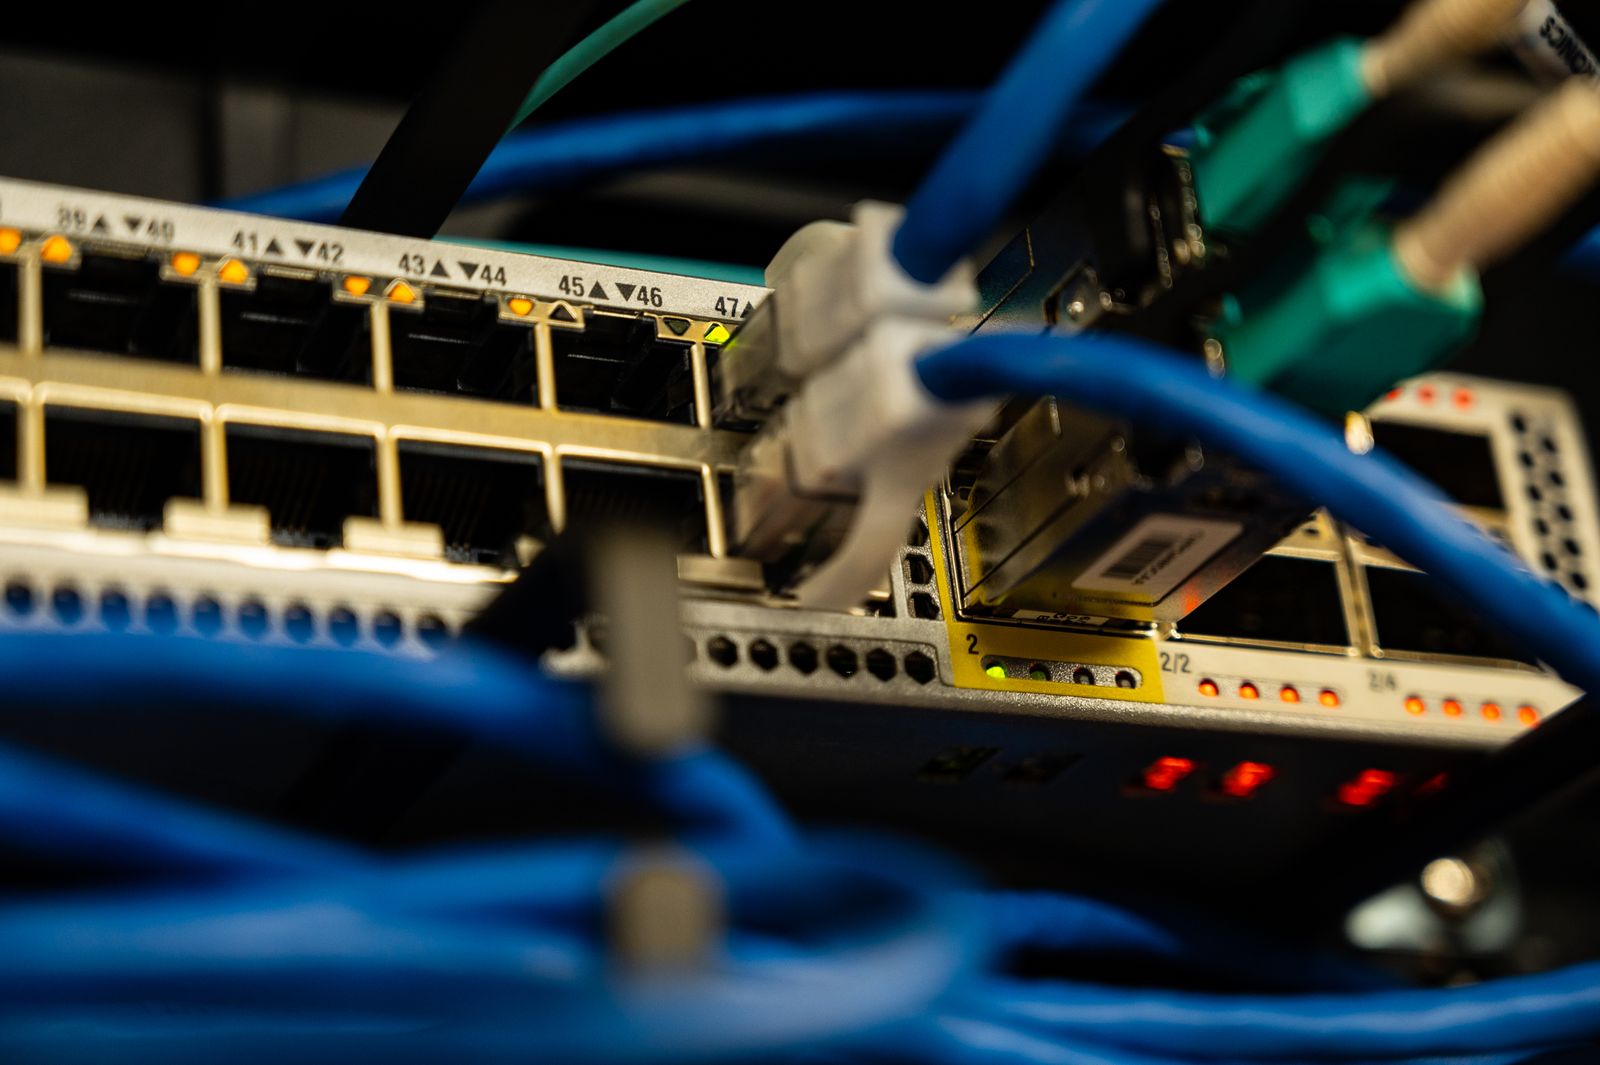
    Close-up of a network switch with multiple Ethernet ports and status LEDs
    One cable instead of two: a PoE-powered coordinator needs only a switch port. Photo: Brett Sayles / Pexels.

    What I’d actually tell you to do

    In order of cost, which is also roughly the order of how much I’d insist on it:

    • Use the extension cable. If your coordinator is plugged directly into your machine, and especially into a USB 3 port, this is the single highest-return change available to you and it is free. A longer or shielded cable does better than a short unshielded one.
    • If you have a spare USB 2.0 port, use it. The noise comes from USB 3 signalling. A coordinator on a USB 2 port is not being shouted at by its own bus.
    • Get the radio away from SSDs, unshielded drives and the machine’s own Wi-Fi. The white paper is about USB 3, but the general principle is that 2.4 GHz is crowded and everything in a mini PC is a little bit of an antenna.
    • Only then consider going network-attached. This costs real money and it is not the fix for a network that is failing for other reasons. It is the fix for one specific problem: your server has to live somewhere bad, and your radio doesn’t.

    One practical note if you do migrate: back up your Zigbee network before you touch anything. Zigbee2MQTT keeps a coordinator backup, and moving between two coordinators with the same chipset is usually a restore-and-go operation rather than a full re-pairing — but “usually” is doing work in that sentence, and re-pairing thirty battery devices on a Sunday is a genuinely miserable way to spend a Sunday. Read the migration notes for your specific stack first. Mine went cleanly. I had the backup ready anyway.

    The uncomfortable lesson

    What actually bothers me about this whole episode is not the eight months of flaky sensors. It is that I spent those eight months debugging the wrong layer. I was treating it as a mesh topology problem — add routers, improve coverage, the standard advice — when it was a physics problem happening two centimetres from the coordinator’s antenna, documented in a paper published fourteen years ago.

    The local-first approach means you own your whole stack, which is the point. It also means you own every layer of it, including the boring RF layer that no dashboard shows you. There is no vendor support ticket that says “your USB port is drowning your radio.” You have to go looking.

    Go check where your coordinator is plugged in. I’ll wait.

  • Five Months After Belkin Killed Wemo, the Plugs Attached to a Local Controller Never Noticed

    Five Months After Belkin Killed Wemo, the Plugs Attached to a Local Controller Never Noticed

    On January 31, 2026, Belkin flipped a switch somewhere and the Wemo app died. Not the devices — the app. Cloud services, remote access, Alexa and Google integrations, schedules: gone for most of the Wemo lineup, exactly as Belkin had announced half a year earlier. Five months on, I keep coming back to that shutdown, because it’s the cleanest demonstration I’ve seen of the argument I’ve been making on this blog since day one: the cloud is not a feature. It’s a liability with a countdown timer you can’t see.

    I don’t own a single Wemo device. My smart home runs on Home Assistant OS on a used mini PC, talking Zigbee and local Wi-Fi APIs, and nothing in my house phones home to function. But watching the Wemo shutdown play out taught me a few things anyway — including one detail that almost nobody outside the Home Assistant bubble seems to know.

    What actually died on January 31

    The scope was brutal. Per Belkin’s own support page and the coverage at the time, the vast majority of Wemo smart plugs, switches, dimmers and sensors lost every cloud-dependent feature. No app control. No remote access. No voice assistants. If you had set up your plugs the way the box told you to — download the app, make an account, link to Alexa — your hardware became a very reliable paperweight with a relay inside.

    There were two escape hatches. Devices already paired with Apple HomeKit before the deadline kept working through the Home app, because HomeKit control is local. And a small handful of newer models with Thread radios kept functioning over HomeKit and Thread. Everyone else got a support article and a shrug.

    The part nobody told Wemo owners

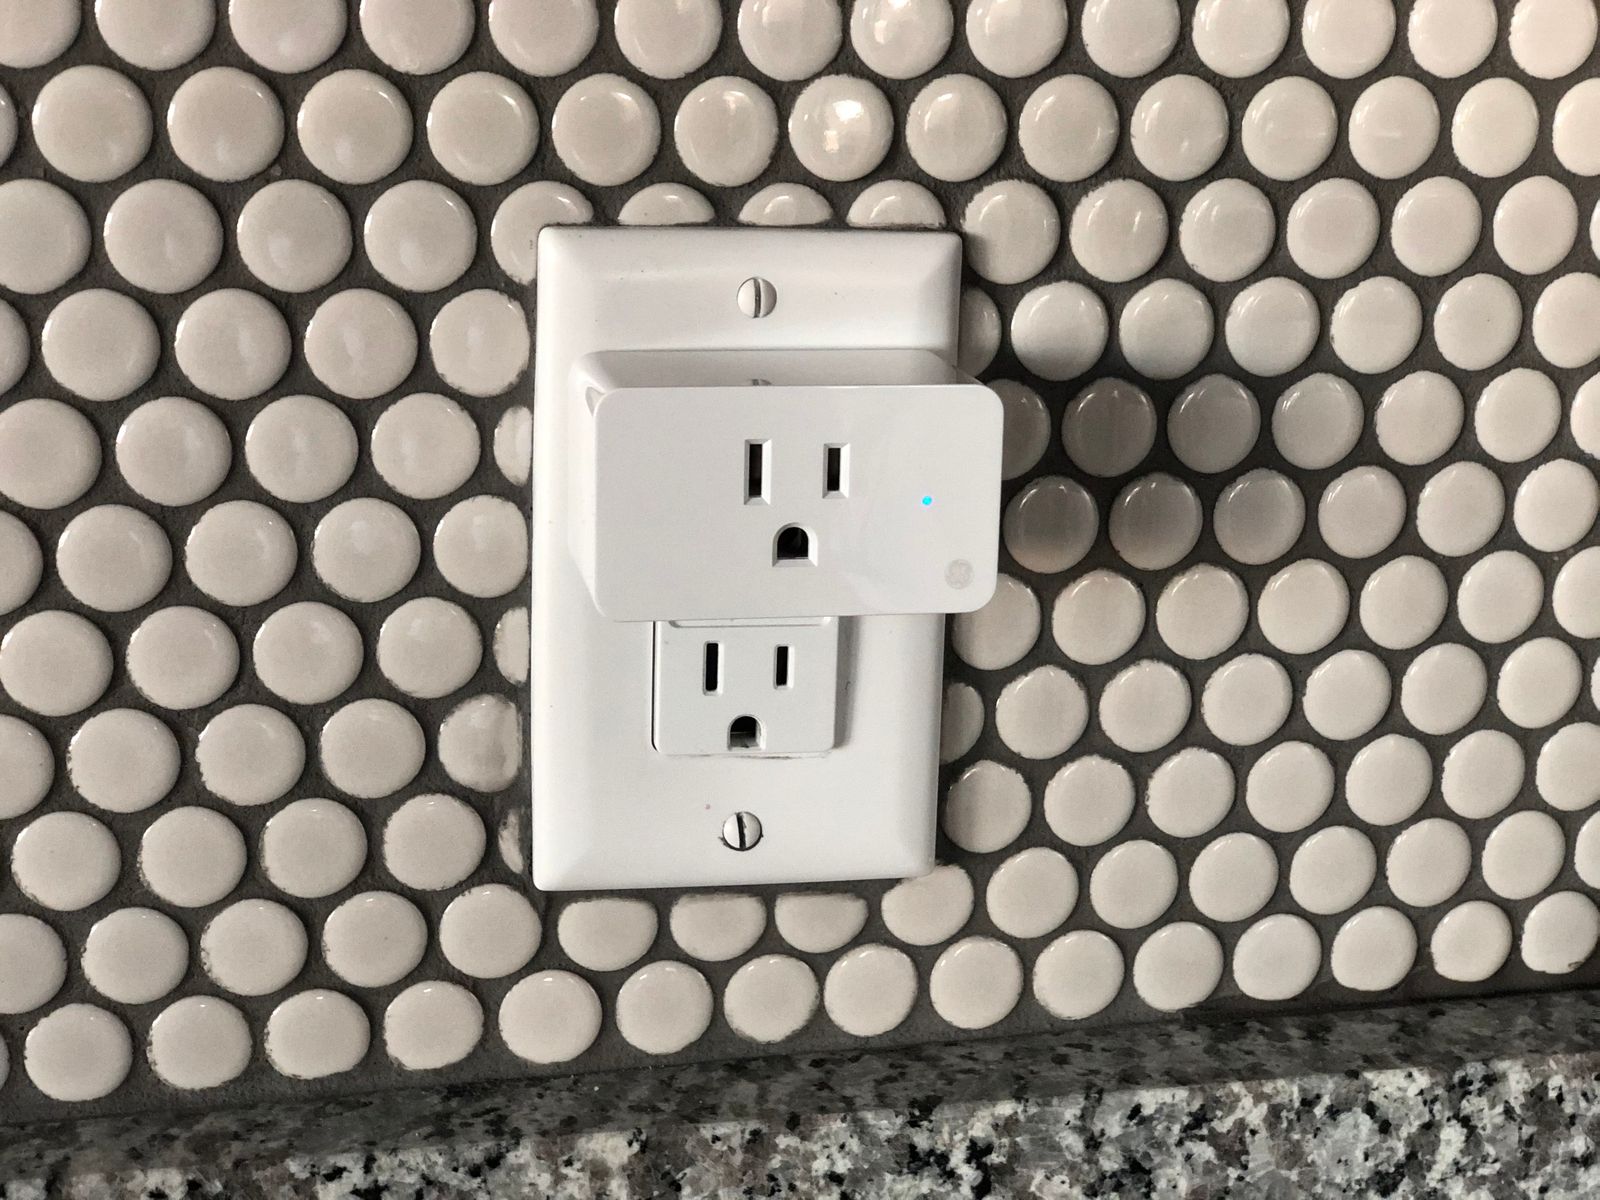
    Here’s the detail that stuck with me: Home Assistant has had a local Wemo integration for over a decade. It discovers the devices on your LAN and talks to them directly — no Belkin account, no Belkin servers, no internet at all. Which means that on February 1, while r/smarthome filled up with people mourning their dead plugs, every Wemo plug attached to a Home Assistant box kept switching on schedule like nothing had happened. Same hardware. Same firmware. The only difference was who it answered to.

    That’s the whole local-first argument in one image. The device was never broken. The business model was. Belkin didn’t brick anyone’s hardware; they revoked a service agreement that most buyers never realized they’d signed. As one commentator put it, with cloud-dependent gear you no longer own what you buy.

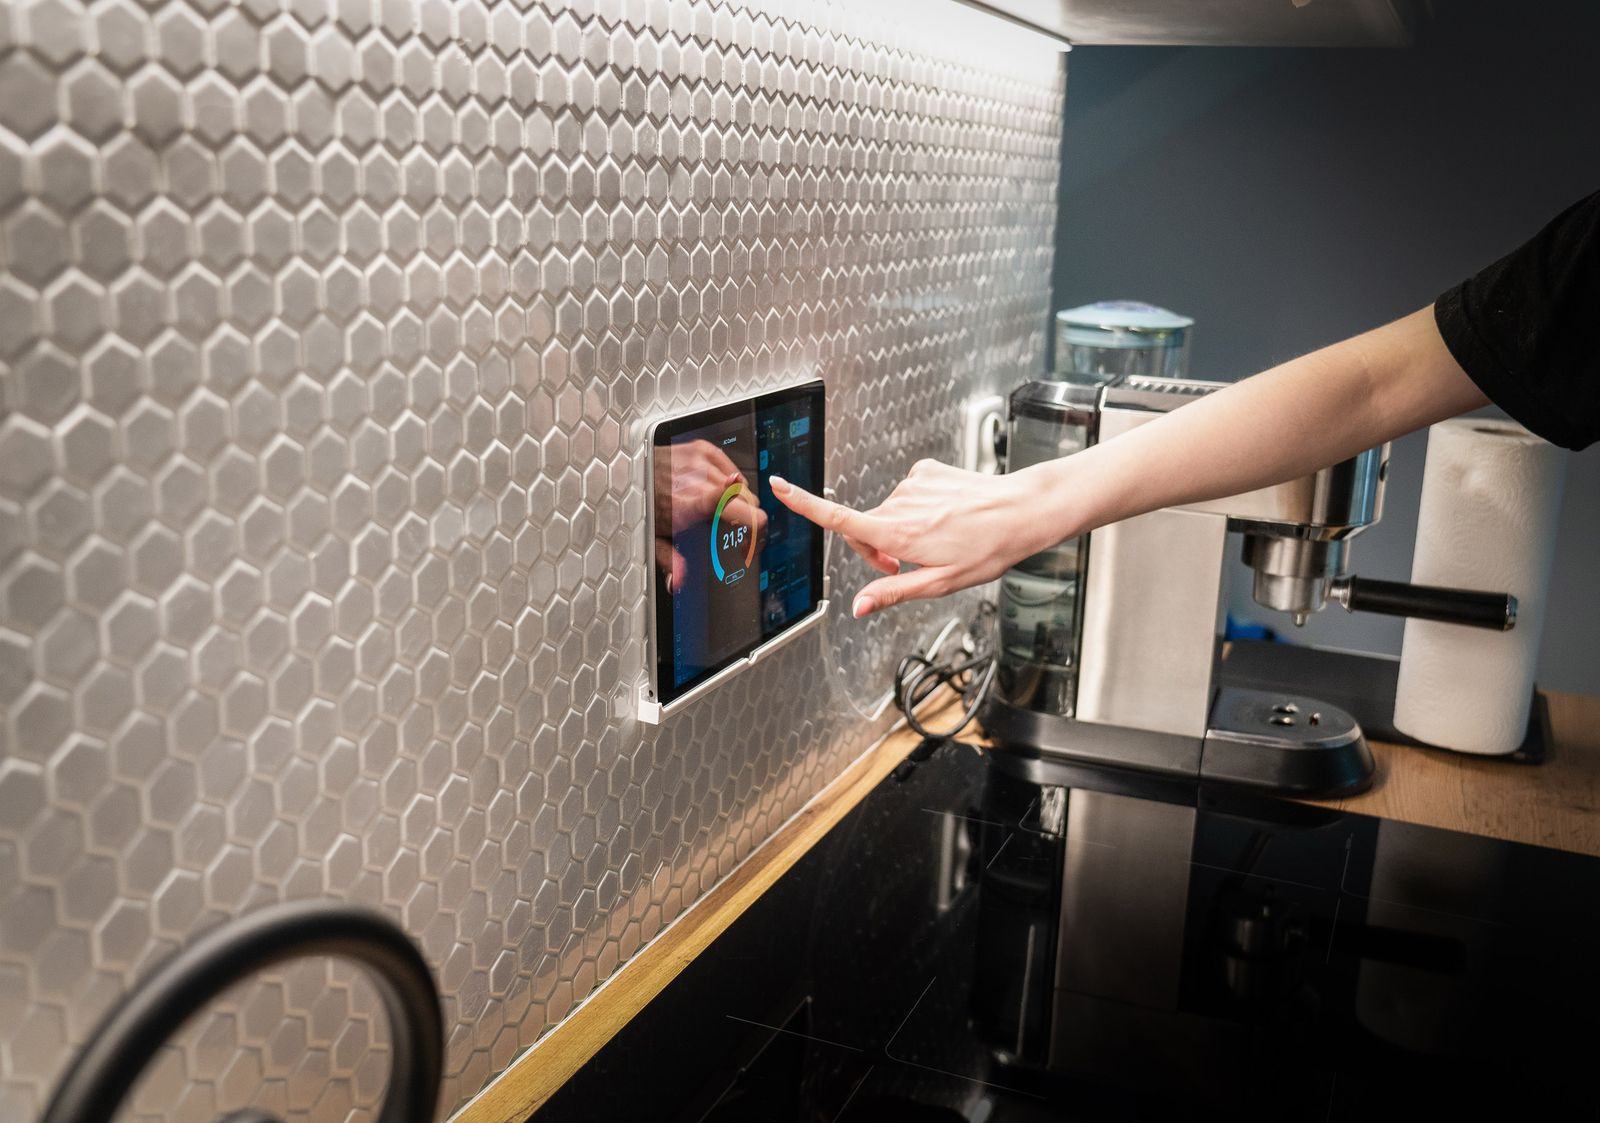
    Wall-mounted smart home control panel in a modern kitchen
    The controller belongs in your house, not in someone’s data center. Photo: Jakub Zerdzicki / Pexels

    This keeps happening, and it will keep happening

    Wemo isn’t an outlier; it’s a pattern. Insteon switched off its servers overnight in 2022 and users woke up to dead houses. Logitech gave its POP button owners two weeks’ notice before remote-killing them, and did the same dance earlier with Harmony Link. The list of brands that have pulled this move is long enough to fill a roundup article, and it grows every year. The Irish Times ran a piece in January arguing the whole category becomes a harder sell when makers can arbitrarily pull the plug — and honestly, for cloud-first gear, that skepticism is earned.

    I don’t even think the companies are evil. Running cloud infrastructure for a $25 plug sold eight years ago costs real money forever, and the accountants eventually win. That’s precisely why the fix can’t be “buy from nicer companies.” The fix is buying devices whose basic function doesn’t route through anyone’s accounting department.

    The question I now ask before buying anything

    Every device that enters this house has to pass one test: if the manufacturer vanished tomorrow, would this still work? Not “does it have an offline mode,” not “does the app cache my scenes” — would the core function survive the company’s death entirely.

    In practice that sorts the market into three buckets. Zigbee, Z-Wave and Thread devices pass automatically, because the radio protocol is the interface — my Zigbee2MQTT network doesn’t know or care whether the vendor still exists. Wi-Fi devices pass only if they expose a documented local API, the way Shelly relays do, or if they can be flashed with open firmware like ESPHome. And anything that requires a vendor account to switch a relay fails, no matter how good the reviews are. Matter is slowly making the first bucket bigger, which is genuinely the best thing the industry has done in years — a Matter device commissioned into a local controller keeps working when the vendor’s cloud dies.

    Notice that this test says nothing about Home Assistant. You don’t need my exact setup. HomeKit users who ran their Wemo gear locally came through the shutdown fine too. The principle is the controller lives in your house, and the devices answer to it — whatever that controller is.

    Where that leaves me, five months on

    The uncomfortable truth is that the Wemo shutdown was probably good for the local-first world. Nothing converts people like loss. Every one of these shutdowns produces a wave of ex-cloud users who show up in the Home Assistant forums asking how to make sure it never happens to them again, and the answer they get — local control, open protocols, hardware you actually own — is the same one that’s been true for a decade.

    My EliteDesk hums along in the hallway cabinet, and the roughly sixty devices attached to it share one property that no spec sheet advertises: not one of them has an expiration date set by someone else’s budget meeting. That’s not paranoia. As of this year, it’s just pattern recognition. The next Wemo is already on a shelf somewhere, wrapped in plastic, waiting for its shutdown announcement. My only advice: don’t let it into your house with a cloud account as its lifeline.

  • Secure Boot Expires This Week. My Home Assistant Box Doesn’t Care — and That’s the Point.

    Secure Boot Expires This Week. My Home Assistant Box Doesn’t Care — and That’s the Point.

    There’s a deadline making the rounds this month, and for once the headlines aren’t exaggerating: on 27 June 2026 one of the Microsoft certificates that underpins UEFI Secure Boot on virtually every PC built in the last fifteen years finally expires. The tech press has framed it as a quiet security cliff — “your old PC has a deadline” — and the advice is broadly the same everywhere: keep Windows updated and let the certificate refresh roll out to you.

    Which is excellent advice, except for one thing. The machine I care most about — the used HP EliteDesk 800 G4 mini that runs my whole house — doesn’t run Windows, doesn’t get Windows Update, and has Secure Boot switched off on purpose. So I spent an evening working out whether this deadline touches my Home Assistant box at all. The short version: it doesn’t. The longer version is the part worth writing down, because the deadline pointed at a question I’d been comfortably ignoring.

    This is a build log from one home, documented honestly. Nothing here is sponsored and there are no affiliate links in this post — just what I found when I checked my own machine.

    What’s actually expiring

    Secure Boot works off a small set of certificates baked into your motherboard’s firmware. They decide what’s allowed to load before the operating system starts. Most of those trust anchors date from 2011, and they were always going to age out. The big one, the Microsoft Corporation UEFI CA 2011, expires on 27 June 2026; a second, the Windows Production PCA 2011 used to sign the Windows boot loader, follows on 19 October 2026. Microsoft’s own support note lays out the timeline and the fix in plain terms.

    Here’s the reassuring bit that gets lost in the scarier headlines: nothing bricks on the 28th. A machine with expired Secure Boot certificates keeps booting exactly as before. What you lose is future trust — the system stops being able to validate new boot components signed against fresh certificates, and on Windows it stops receiving updates to the boot manager and Secure Boot databases through Windows Update. The fix is to enrol the replacement 2023 certificates before the old ones lapse, and on a maintained Windows PC that refresh is being pushed out for you automatically. For the average laptop owner, the correct action really is “do nothing, stay updated.”

    Why my Home Assistant box is the wrong patient

    None of that delivery mechanism exists on my setup. Home Assistant OS installed bare-metal on a generic x86-64 box has one firm requirement in the official install guide: UEFI boot enabled, Secure Boot disabled. HAOS isn’t signed against Microsoft’s keys, so you turn Secure Boot off in the BIOS to let it boot at all. My EliteDesk has run that way since day one.

    So the certificate that expires on 27 June was never doing any work on my machine. There’s no Windows Update channel to push a 2023 cert refresh, and Secure Boot — the feature those certificates serve — is switched off anyway. The deadline that’s dominating the PC news this week is, for my home server, a non-event. I could close the tab.

    And that’s exactly the moment I made myself stop and be honest. “This deadline doesn’t apply to me” is true, but it’s the kind of true that can quietly mean “nobody is patching the firmware on this box, including me.” Turning Secure Boot off didn’t make the underlying firmware secure. It just removed one of the safety nets that was watching it — and removed the operating system that would have nagged me about the others.

    The question underneath the deadline

    A mini PC like the EliteDesk 800 G4 has more than a BIOS. It has Intel’s Management Engine — the CSME firmware that lives below the operating system and has been the subject of a long line of security advisories over the years. On a Windows machine, CSME and BIOS updates tend to arrive folded into the vendor’s update utility or Windows Update, applied with a reboot, barely noticed. Strip Windows out of the picture and that whole stream of low-level patches stops arriving on its own. There is no daemon running on stock HAOS that says “your platform firmware is two years old.”

    This is the real trade of going local-first and no-cloud, and it’s one I signed up for gladly: I took the convenience away from a vendor and kept it for myself. The bill for that is that the patching calendar is now mine too. Not the application layer — Home Assistant updates itself happily — but the firmware floor underneath it.

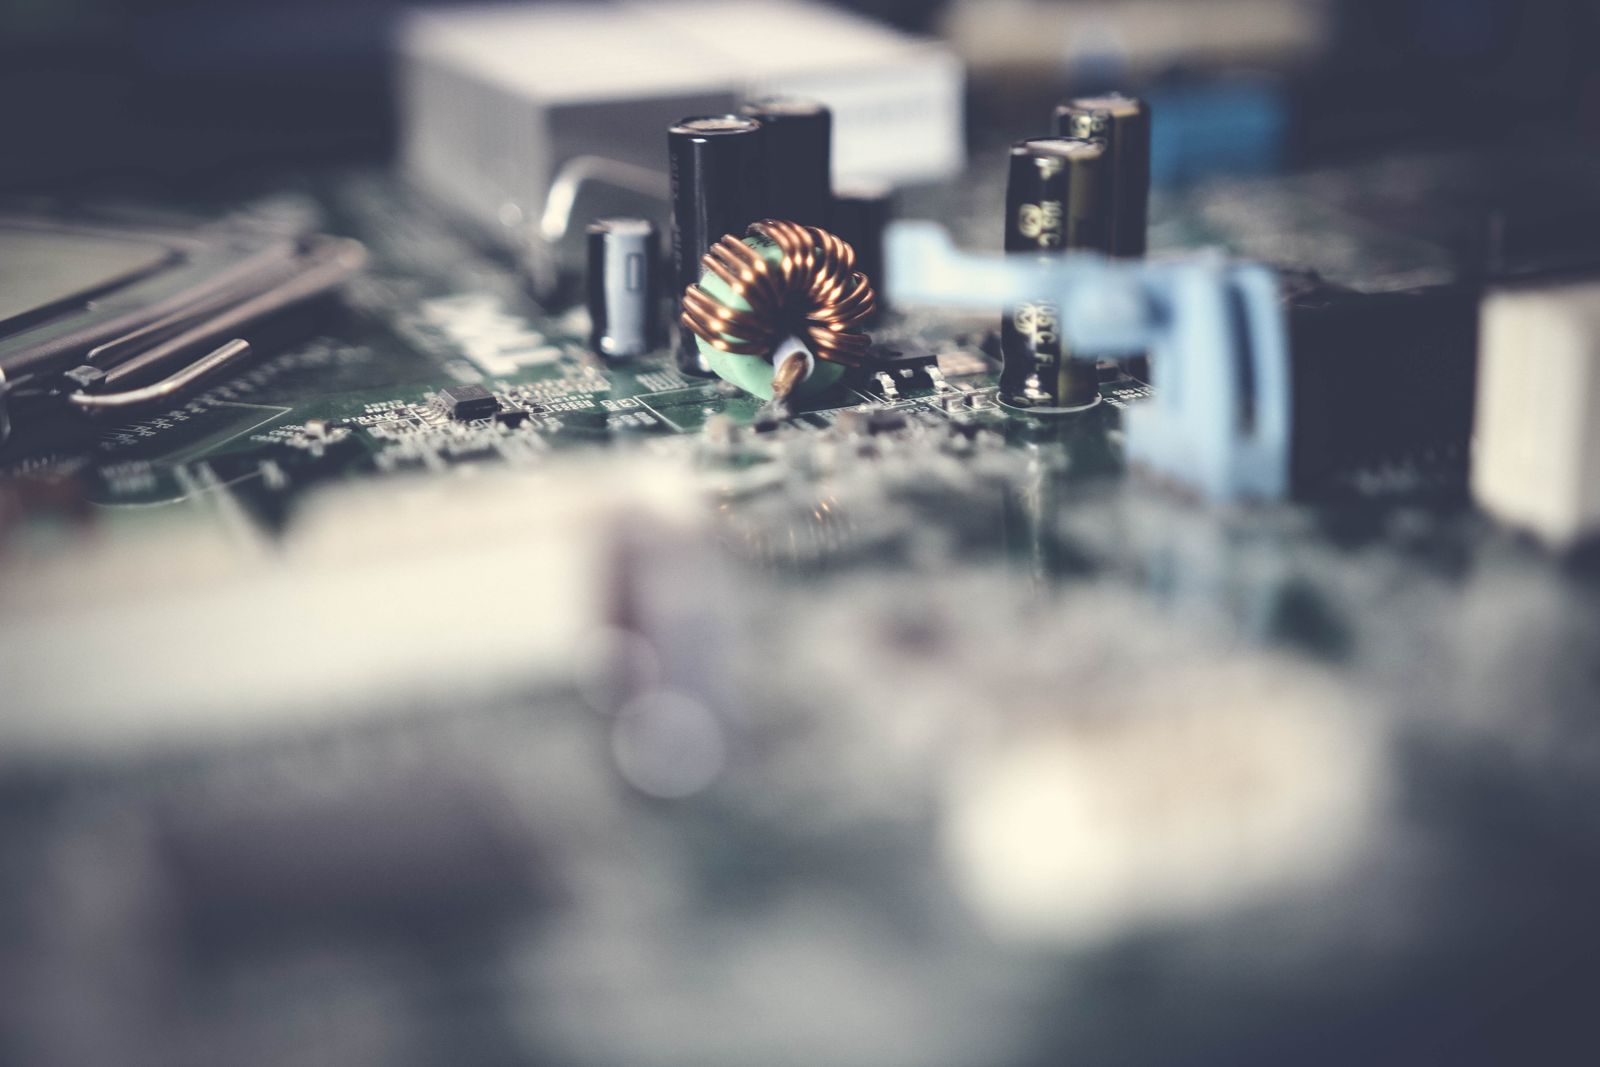
    Detail of chips and traces on a circuit board
    The layer below the operating system: BIOS and CSME firmware that no app-level update will ever touch for you. Photo: Pexels

    How you actually patch an HP desktop without Windows

    My first hope was the clean Linux answer: fwupd and the Linux Vendor Firmware Service. On a Dell or a Lenovo, plenty of machines will take a BIOS update with a single fwupdmgr update straight from LVFS, capsule-applied safely on the next reboot. It’s genuinely one of the nicest things in the Linux firmware world.

    HP is a different story. HP sponsors LVFS but ships only a small handful of models through it, and the deeper CSME updates are largely off the table for older silicon — Intel’s capsule-format CSME updates only became possible from 13th-gen chips, and the G4 is 8th-gen Coffee Lake. Stock HAOS doesn’t ship fwupd as a user-facing tool anyway. So for this particular box the tidy path mostly isn’t available, and the realistic route is the old-fashioned one: download the latest BIOS for the exact product number from HP’s support site, and HP’s own security bulletins to see what it fixes, then flash it from a FAT32 USB stick using the firmware’s built-in updater (on these HP machines, the BIOS flash option under the F10 setup menu). It’s manual, it’s a little tedious, and it works without Windows ever being installed.

    What I’m actually doing about it

    Nothing dramatic, which is the point. I checked the BIOS version currently on the box against the newest one HP lists for the 800 G4, read the bulletin to confirm what the gap actually contains, and put the update on the calendar the same way I handle a Zigbee firmware flash: a quiet weekday morning when nobody’s home and a few minutes of downtime won’t strand anyone in the dark. Platform firmware is the one layer where I genuinely want to be conservative — you update it deliberately, with a known-good power supply and the release notes open, or you leave it alone on purpose. What you don’t get to do, once you’ve left the cloud and the vendor’s update nag behind, is forget it exists.

    So the 27 June Secure Boot deadline turned out to be the best kind of false alarm. It cost me an evening, it didn’t apply to my server, and it left me with a slightly more honest mental model of my own setup: the cloud isn’t patching this machine, Microsoft isn’t patching this machine, and that was the entire idea. The flip side of “I decide” is “I remember.” Worth a calendar entry. Worth writing down.

    Sources: Microsoft’s Secure Boot certificate expiration and CA updates note; the Home Assistant Generic x86-64 installation guide (UEFI on, Secure Boot off); the Linux Vendor Firmware Service / fwupd project; and HP’s security bulletins for per-model BIOS and firmware advisories.

  • I Spent Weeks Choosing a €200 Mini PC for Home Assistant. Here’s What Actually Mattered.

    I Spent Weeks Choosing a €200 Mini PC for Home Assistant. Here’s What Actually Mattered.

    It started, as these things do, with a single innocent question: “Is this computer any good for running Home Assistant?”

    A used HP EliteDesk for 168 francs. A reasonable machine. I could have bought it that afternoon and been running Home Assistant by dinner. Instead, I went down a rabbit hole so deep I came out the other side with a different philosophy about buying hardware entirely — and a returned package on my conscience.

    If you’re standing at the trailhead of your own home-server journey, maybe my detour can save you a few wrong turns. Or at least make you feel better about your own.

    The spec spiral

    Here’s the thing nobody tells you when you start shopping for a Home Assistant box: almost anything works.

    Home Assistant Operating System, running bare metal, uses something like 2 GB of RAM and a rounding error’s worth of CPU. A Raspberry Pi handles it. A decade-old office PC handles it with contempt. The “requirements” are so modest that the entire premise of comparison shopping starts to wobble the moment you look at it honestly.

    I did not look at it honestly. Not for a while.

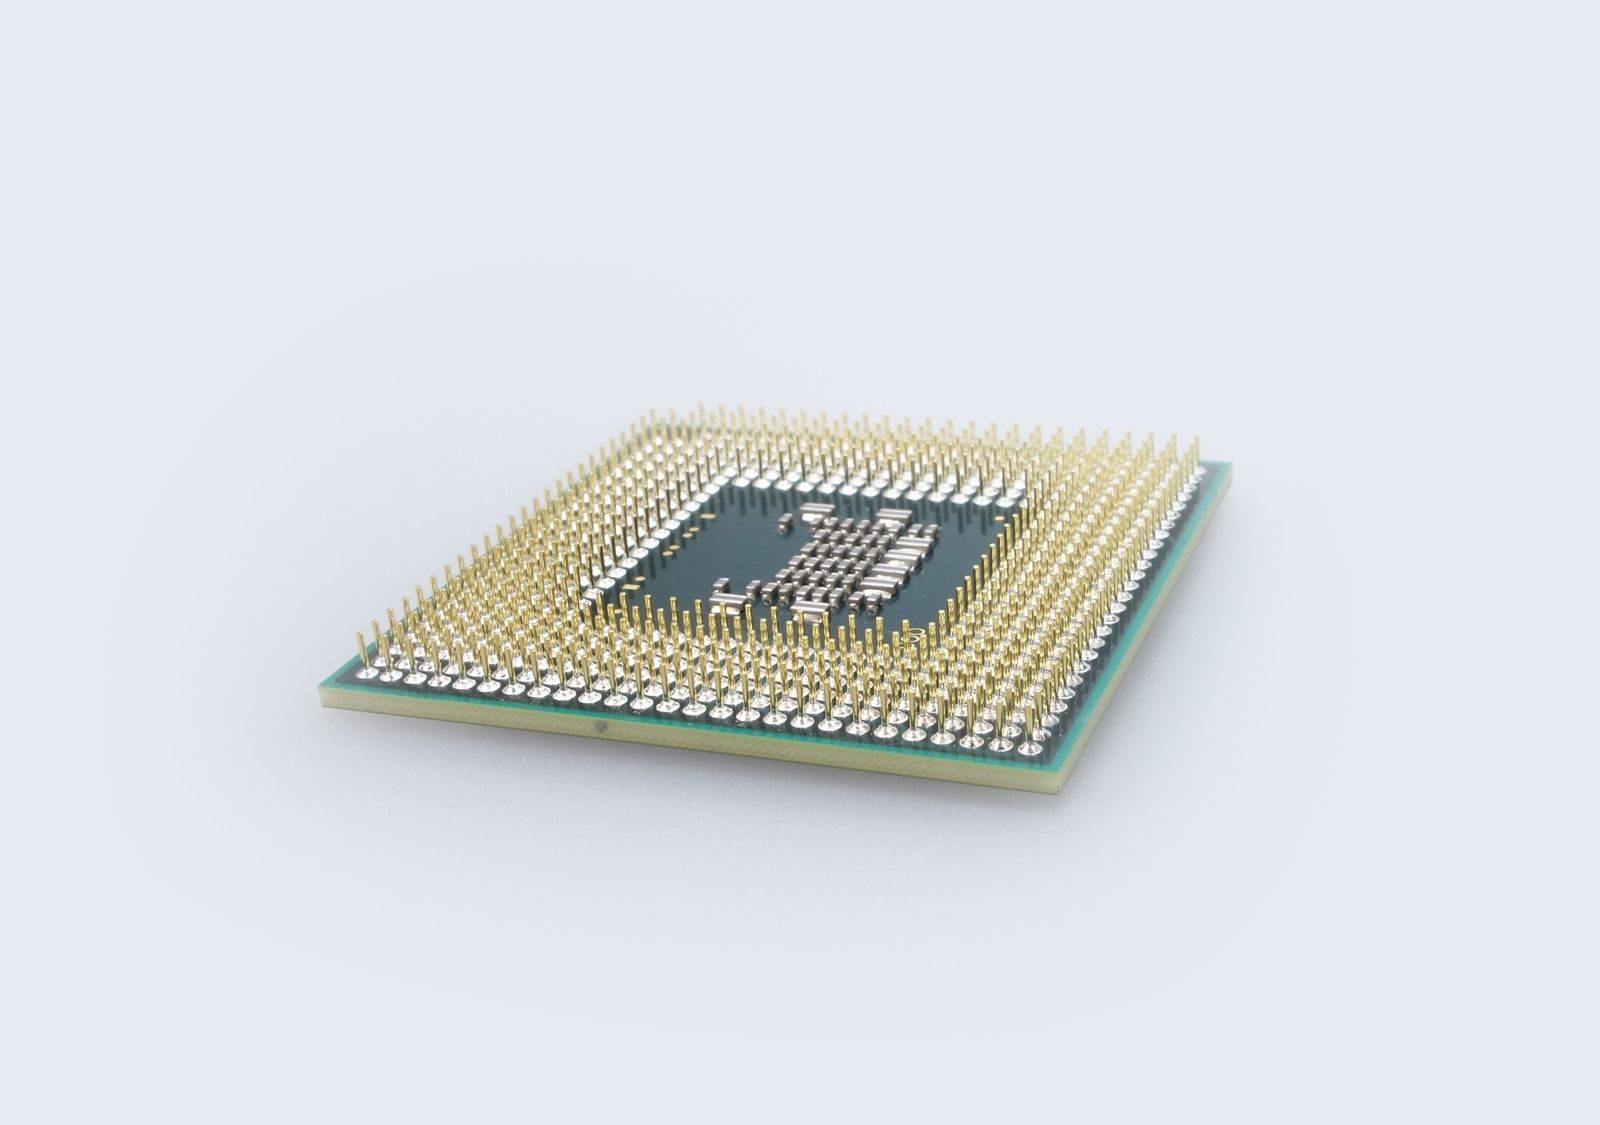
    Closeup of a CPU processor with golden pins
    Somewhere around chip number eight, the comparisons stopped mattering. Photo: Pexels

    Instead, I compared. An i5-7500 against an i7-6700T. A 6500T against a 7500T. Then the 8th-gen chips — 8500T, 8600T, 8700T. Then 9th gen, 10th gen. I learned the difference between 8-bit and 10-bit HEVC hardware decoding (it matters if you’ll run modern 4K cameras through Frigate, and not otherwise). I learned that the “T” suffix means a 35-watt low-power variant designed for exactly this kind of always-on, quiet, tucked-in-a-closet duty. I learned that hyperthreading helps if you’ll run a dozen containers and does precisely nothing if you won’t.

    Every comparison taught me something. That was the trap. Each new listing produced a little hit of “ah, now I understand this better” — even as the decision drifted further away and the actual quality difference between options shrank toward zero.

    By machine number eight, I was agonizing over chips that were all five to ten times more powerful than my workload would ever need. I was optimizing a variable that didn’t matter, with the conviction of someone who believed it did.

    The pivot that should have come first

    The most useful moment in the whole journey wasn’t a hardware comparison at all. It was finally asking the right question: what am I actually going to run on this thing?

    Two architectures were on the table:

    HAOS bare metal — install Home Assistant Operating System directly on the machine. It becomes an appliance. One job, done well, near-zero maintenance. Boring in the best way.

    Proxmox — install a hypervisor first, then run Home Assistant in a virtual machine alongside other services. Infinitely flexible, a genuine homelab, and a real time commitment to set up and maintain.

    I went back and forth, but the honest answer was: I wanted home automation to just work. I wasn’t planning a media server empire. I didn’t need to run a dozen VMs. I wanted lights, sensors, maybe some cameras later, and a system I wouldn’t have to babysit.

    That decision — HAOS bare metal — should have ended the hardware debate immediately. It meant I needed almost nothing. Any four-core machine with 16 GB of RAM and modern-ish video decoding would do, with room to spare for adding Frigate and a few cameras down the line.

    I had my answer. I kept shopping anyway.

    The modern temptation

    The deeper I went, the more I drifted from the original “boring old business PC” idea toward shiny new mini PCs. The N100 era of tiny, efficient, modern little boxes is genuinely tempting: 6-watt power draw, the latest video codecs including AV1, brand-new condition, and prices that undercut the used enterprise gear.

    I found one. An Acemagic N100 — 16 GB RAM, 512 GB SSD, dual gigabit LAN, an internal bay for adding a hard drive (the holy grail for Frigate recordings, since most mini PCs lack it), and a near-new condition. I talked the price down to 180 euros. I bought it.

    For about a day, I felt like I’d won. Modern platform, low power, more features than the old HP boxes, at a great price. The spec-sheet maximizer in me was satisfied.

    The return

    Then the other shoe dropped — and it wasn’t about specs at all.

    These ultra-cheap mini PCs almost all come from a handful of Chinese ODMs, and the category has a track record problem. One of them — Acemagic, specifically — was caught in early 2024 shipping units with malware pre-installed in the Windows image. The company owned up to it and patched their process, and there’s been no repeat since. Technically, since I was going to wipe Windows and install HAOS anyway, the original image was irrelevant. I’d never run their Windows.

    But the more I sat with it, the more it bothered me. This was going to be the machine at the center of my home — connected to my network, watching my sensors, eventually handling cameras. A device whose entire job is to be trusted, sitting on my LAN 24/7, for years. “The pre-installed malware doesn’t matter because I’m wiping it” is true at the OS level, but it didn’t answer the deeper unease: do I trust the supply chain of the thing I’m putting at the heart of my home?

    Firmware-level concerns don’t get wiped by reinstalling the operating system. And the whole point of a home automation hub — especially one that might one day see camera feeds — is that it should be the last device on your network you have to worry about eavesdropping on you.

    So I returned it.

    Trust over specs

    I went back to the boring choice. A used HP EliteDesk 800 G4 Desktop Mini — Intel i5-8600T, six cores, 16 GB of RAM, 256 GB SSD, condition “Sehr Gut.” 236 euros. More expensive than the Acemagic. Slightly older. Higher power draw. On a pure spec-sheet, a worse deal.

    On the metric I’d finally decided actually mattered — trust — it was the clear winner.

    This is enterprise hardware from a vendor with a thirty-year track record, built to sit in corporate environments where security and supply-chain integrity are contractual obligations, not afterthoughts. HP publishes BIOS updates for these machines years into their life. The first thing I did when it arrived was flash the latest firmware (February 2026) — closing known vulnerabilities, starting from a clean, vendor-signed baseline.

    A six-core business PC running current firmware from a major manufacturer, with HAOS bare metal on top, is about as boring and trustworthy a foundation as you can build a smart home on. And boring and trustworthy, it turns out, is exactly what I wanted all along. I just took the scenic route to figure it out.

    What I’d tell my past self

    Three things, if I could go back to that first innocent question:

    Decide what you’re running before you compare hardware. The “HAOS bare metal vs. Proxmox” question determines everything downstream. I had it backwards — I compared chips for weeks before settling the architecture that made 90% of those comparisons irrelevant.

    Set your stopping criteria up front. “I’ll buy the first machine with ≥4 cores, 16 GB RAM, an internal drive bay, under €250, from a vendor I trust.” Any of several machines would have triggered an instant purchase, and I’d have stopped at the first match instead of touring the entire used-PC market. This turns you from an exhausting maximizer into a satisficer with high standards — same decision quality, a fraction of the agony.

    For the device at the center of your home, trust is a spec. It doesn’t show up on the comparison table next to clock speed and core count, but it should. The cheapest box with the best numbers is not the best choice if you can’t trust what’s underneath the operating system. A slightly slower, slightly pricier machine from a vendor with real accountability and firmware support can be the smarter buy — especially for something that lives on your network, watches your home, and runs for years.

    I spent weeks and circled back to almost exactly where I started — a used HP business PC at a sensible price. But I didn’t end up in the same place I’d have landed on day one. I ended up there knowing why, having ruled out the alternatives myself, and having reframed the entire decision around the thing that actually mattered.

    The journey was longer than the decision required. But the destination is one I’ll trust for years. And honestly? I enjoyed the hike.

    Now, if you’ll excuse me — I have a house to make smart.

  • Wiring the hallway motion lights — what actually worked

    Sample starter post — replace with your real build log.

    Motion lighting sounds trivial until you live with a bad version of it. This is the full play-by-play: the three sensors I tested, the breaker that fought back, and the automation logic that finally made it invisible.

  • Mapping the house, room by room

    Sample starter post — replace with your real build log.

    Every automation journey starts with a map. Before buying a single sensor, I walked the house room by room and wrote down what each space actually needs — not what looks cool in a demo.

    The order: hallway first (cheap win, daily annoyance), then living room, kitchen, office, and finally the garden and gate.

  • From 32 Ceiling Spots to a Smart Home: My Journey Planning a Home Assistant Setup in Switzerland

    From 32 Ceiling Spots to a Smart Home: My Journey Planning a Home Assistant Setup in Switzerland

    How a simple question about LED spots turned into a deep dive on smart switches, electrical regulations, refurbished mini PCs, Ricardo auctions, and WiFi mesh networks — and what I learned along the way.

    The Starting Point

    I have 32 LED spots across three floors of my Swiss house. They’ve been there for years, controlled by traditional wall switches. Pleasant lights, simple installation, nothing fancy. But like a lot of people who’ve watched the smart home space mature, I started wondering: what would it take to integrate these into Home Assistant?

    A normal living room with conventional lighting
    The starting point: a perfectly fine house with perfectly dumb lighting. Photo: Pexels

    I figured this would be a quick research session. A few hours later, I had a complete project plan, a refurbished Dell mini PC on order, a fresh understanding of Swiss electrical regulations, and a list of next steps that goes well beyond “buy some smart bulbs.”

    This is the story of that planning process — what I evaluated, what I decided, and what comes next. Maybe it’ll save someone else a few hours of research.

    The First Question: How Do You Even Make Existing Spots Smart?

    Three real paths emerged:

    Smart bulbs (replace each GU10/MR16 with a Hue, IKEA Tradfri, or similar). Pros: per-bulb control, easy to install. Cons: 32 bulbs at CHF 15–40 each is a serious price tag, and the physical wall switch must stay on permanently or the bulbs disconnect.

    Smart switches/dimmers (replace the wall switches themselves with smart versions). Works, but Swiss wall boxes are small and many fancier switches don’t fit.

    Smart relays behind the wall switches (small modules tucked into the existing flush-mount boxes). This is the path that works best in Switzerland, and the local favorite is Shelly — making devices designed specifically for these installations.

    The Shelly approach has a beautiful logic: my 32 spots aren’t on 32 switches — they’re grouped into maybe 8–12 circuits across rooms. So I’d only need 8–12 Shelly modules, not 32. The existing wall switches keep working normally. Everything sits invisibly behind the wall.

    I had my architecture. Now I needed to know if my lights were dimmable.

    The Dimming Discovery

    Pulled out one of my ceiling spots and found the LED driver tucked into the ceiling cavity: an ISOLED 113054, a 24V DC constant-voltage transformer feeding low-voltage LED modules.

    I looked up the spec sheet. The exact words were Dimmbar: Nein. Not dimmable. At all.

    This was a real moment in the planning. It meant:

    • A standard Shelly Dimmer 2 (phase-cut dimming) would not work on this circuit. Putting a phase-cut dimmer in front of a non-dimmable transformer either does nothing, buzzes, or destroys the transformer.
    • To get dimming, I’d need to swap the transformers themselves for dimmable versions. ISOLED makes pin-compatible 1–10V dimmable models (the 114225) and DALI versions (114226, 116208).

    So my options crystallized into three:

    1. On/off only with Shelly Plus 1PM behind each switch. Cheap, easy, gets me Home Assistant integration with no electrical work beyond installing the small relay module.
    2. Replace the drivers for dimming. ISOLED 114225 (1–10V dimmable) paired with a Shelly Plus 0–10V Dimmer. More money, more electrical work, but real dimming.
    3. Smart bulbs. Doesn’t apply here — these aren’t standard GU10s, they’re integrated 24V modules.

    The pragmatic answer became: mix and match. Use option 1 for rooms where I just want on/off (hallway, cellar, bathrooms, outdoor). Use option 2 only in rooms where dimming actually matters — living room, dining area, bedroom. That keeps costs and labor manageable.

    The Swiss Regulation Reality Check

    One thing I had to internalize quickly: in Switzerland, hardwired electrical work legally requires a licensed electrician (the NIV regulations). Swapping transformers and adding control wires isn’t something a homeowner can legally do themselves, even if they have the skill. The work also needs a Sicherheitsnachweis (SiNa) for insurance purposes.

    So my plan now includes a quote from an electrician for the driver swaps in the rooms where I want dimming. Probably 30–45 minutes per location at CHF 120–180/hour. Add parts (~CHF 50–70 per driver, ~CHF 50 per Shelly dimmer module) and the per-room cost for dimming is something like CHF 200–300.

    For the on/off rooms, the Shelly 1PM modules are cheaper (~CHF 30 each) and the work is simpler, but the same legal framework applies.

    The Home Assistant Host Question

    With the smart home architecture decided, I needed something to actually run Home Assistant on. This turned into its own rabbit hole.

    I evaluated, in order:

    • My Synology DS218+ — only 2 GB RAM, would need a CHF 40 RAM upgrade to be viable, then it’s running HA in a VM with all the usual NAS-VM caveats. Possible, but the NAS also handles photos and files, and I didn’t love the idea of “reboot NAS → lights go dark.”
    • My old Raspberry Pi 3 B+ — works in principle but only 1 GB RAM, USB 2.0, slow boot times. Fine to learn HA on, not where you’d park a permanent installation.
    • My 2018 MacBook Pro with a broken display — the T2 chip makes bare-metal Linux/HAOS painful, would need to run it as a VM under macOS with all the sleep/heat workarounds. Plus, it’s worth CHF 250+ on Ricardo even broken; better to sell it and use the proceeds.
    • New Beelink S12 Pro / Mini PC — perfect specs but CHF 200–340 for what’s essentially overkill for HA.
    • Mac mini 2014 — CHF 90 with an SSD upgrade. Older but adequate.
    • Used corporate mini PCs on Ricardo — the sweet spot.

    The “used corporate mini PC” path turned out to be where the real value lives. Companies retire fleets of Lenovo ThinkCentre, HP EliteDesk, and Dell OptiPlex Micro/Tiny machines every few years, and they end up on Ricardo and tutti.ch for CHF 80–150. They were built for 24/7 office use, they’re well-cooled, and they run x86 Linux flawlessly.

    The Winner: Dell OptiPlex 7050 Micro

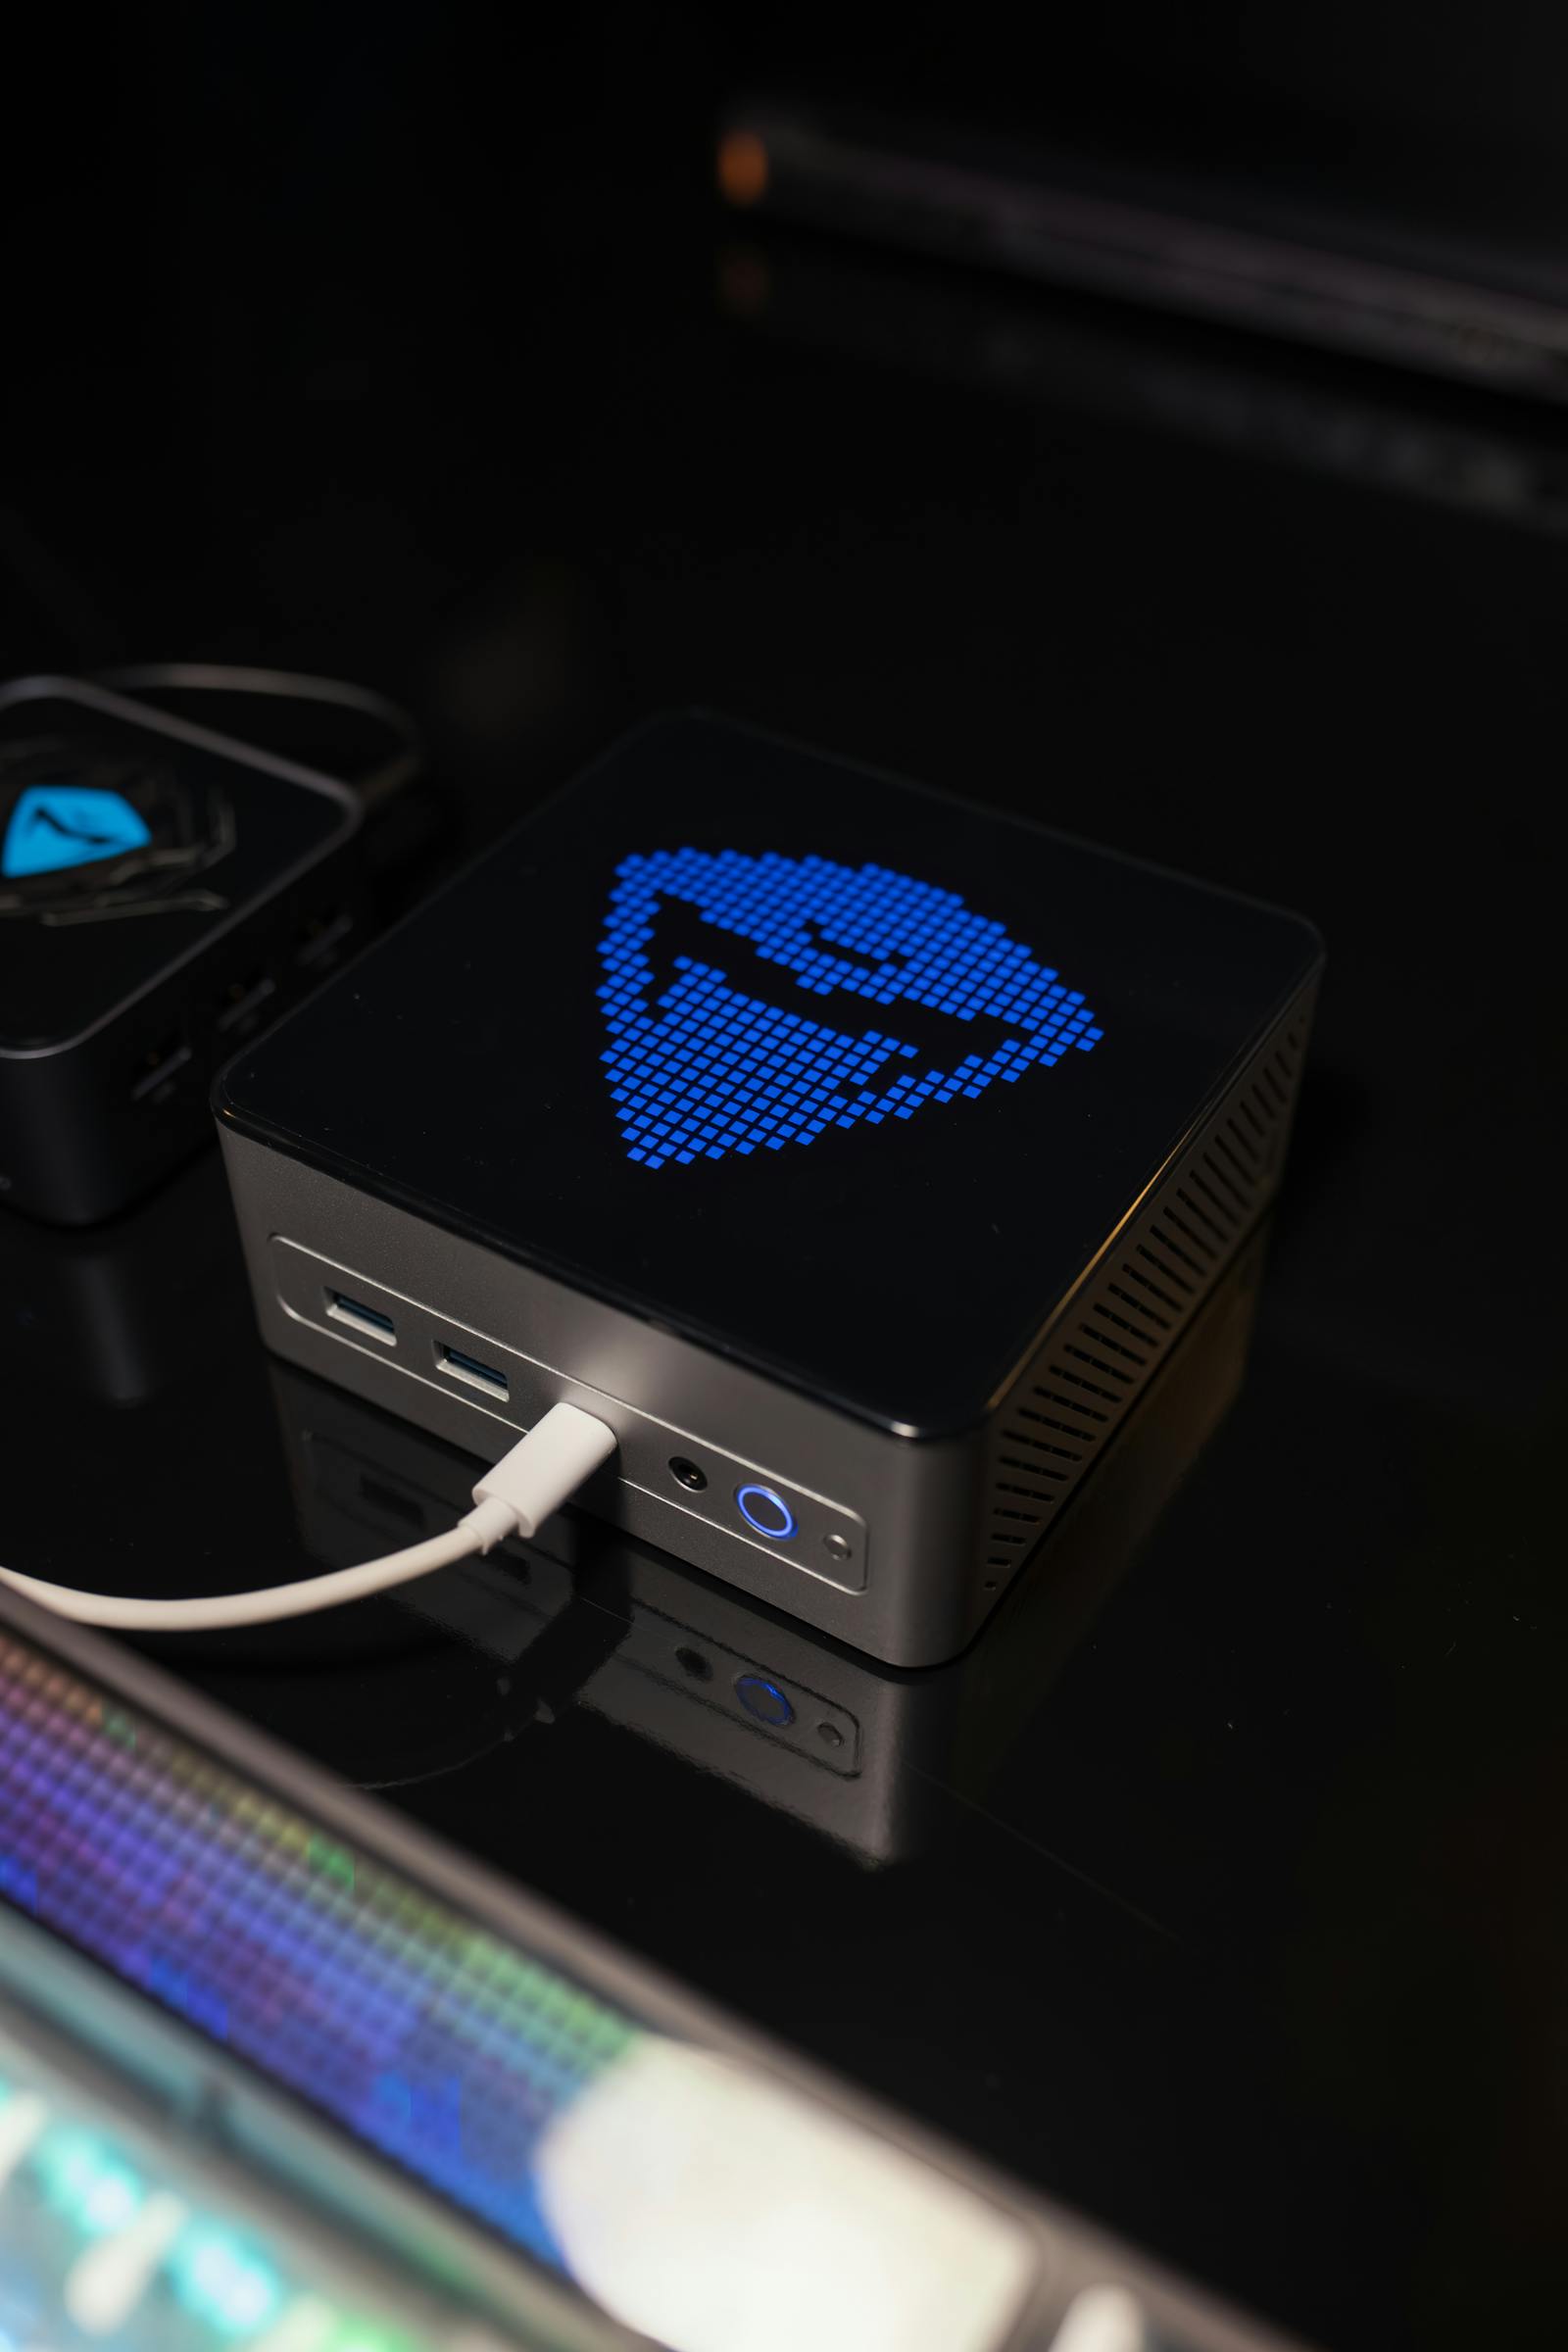
    A compact mini PC on a dark desk
    Small, quiet, and built for 24/7 duty — the mini PC form factor is made for this job. Photo: Pexels

    I looked at several listings — a Lenovo M93p at CHF 92, an HP EliteDesk 800 G2 at CHF 100 (but only 4 GB RAM), a Ricardo auction for an OptiPlex with a 13th-gen i5 that turned out to have a sketchy seller history. Then I found it:

    Dell OptiPlex 7050 Micro with:

    • Intel i7-6700T (4 cores / 8 threads, hyperthreading)
    • 16 GB DDR4 RAM
    • 256 GB Samsung NVMe SSD
    • Listed at CHF 95 (current auction bid)
    • Seller with 100% positive rating across 38 transactions
    • Detailed listing: thermal paste replaced, fan dust-cleaned, Dell diagnostics confirmed clean, honest acknowledgment of “Gebrauchspuren”

    The seller even sent interior photos showing a clean Samsung PM981 NVMe drive, a properly seated WiFi card, and the blue HDD caddy ready for future 2.5” SATA expansion. This is enthusiast-grade refurbishing, not “clearing out old junk.”

    Hardware decision: settled. Max auction bid set at CHF 150 (still a great deal at that price), with a fallback plan to grab the Lenovo M93p for CHF 92 if I get outbid. Either path lands me a perfectly capable HA host for less than CHF 100 in most scenarios.

    The Network Surprise

    Just when I thought the planning was done, I noticed something I’d half-known but never fully thought about: my house has Cat7 ethernet cables running from every room to a central passive patch panel. The previous owners had wired the place for proper networking.

    Ethernet cables plugged into a network switch
    The quiet hero of the whole setup: wires already in the walls. Photo: Brett Sayles / Pexels

    And the WiFi already running on top of it is a Netgear Orbi RBE771 — a WiFi 7 mesh system with one router and two satellites. Premium consumer networking, originally CHF 600–800.

    This changed the network plan significantly:

    • No need to buy access points. The Orbi system is already better than what I would have recommended.
    • Use wired backhaul. Plug each Orbi satellite into a Cat7 jack at the patch panel side. The satellites detect this automatically and switch from wireless mesh to Ethernet backhaul, which dramatically improves speed, latency, and reliability for every device — including the 32 Shellys that will eventually live on the WiFi.
    • Create a dedicated IoT SSID. Separate 2.4GHz-only network for Shellys, isolated from the main WiFi. Better performance, better security, easier troubleshooting.
    • Place the HA server at the patch panel. Wired Ethernet directly to the router, centrally located, easy to maintain.

    A cheap Gigabit switch (TP-Link TL-SG108 at CHF 25) plugged into one of the Orbi’s LAN ports gives me enough ports for the HA server, the satellites, and future expansion. No need for anything fancier — every device in this setup tops out at Gigabit anyway.

    The Final Stack

    After all this evaluation, here’s what the system looks like:

    [Internet/Modem]
          │
    [Orbi Router] (at patch panel, wired)
          │
    [Cheap 8-port Gigabit Switch]
          │
          ├── Cat7 → [Orbi Satellite — Floor 2]
          ├── Cat7 → [Orbi Satellite — Floor 3]
          ├── Cat7 → [Dell HA Server]
          └── Cat7 → (future devices)
                     │
                     ▼
                [WiFi: IoT SSID, 2.4 GHz]
                     │
                     ├── Shelly Plus 1PM × ~8 (on/off rooms)
                     └── Shelly Plus 0-10V Dimmer × ~4 (dimming rooms)
                           │
                           └── ISOLED 114225 drivers (replacing 113054s)
                                 │
                                 └── 32 existing LED spots

    The Implementation Plan

    The order of operations matters. Doing this wrong means doing it twice.

    Phase 1 — Foundation (Week 1)

    1. Win (or lose) the Dell auction. If won, install Home Assistant OS on it from a USB stick (15 minutes), set up basic dashboard, give myself an admin account.
    2. Configure the Orbi system: update firmware, switch satellites to wired backhaul, create the IoT SSID, set a DHCP reservation for the HA server.
    3. Add the small Gigabit switch at the patch panel for extra ports.

    Phase 2 — First Shelly (Week 2)

    1. Pick one easy circuit — a hallway light, somewhere low-stakes. Have the electrician install one Shelly Plus 1PM behind that switch.
    2. Configure it on the IoT WiFi, integrate into Home Assistant, get the full workflow working end-to-end. The mistakes made here are free.

    Phase 3 — Driver evaluation and quotes (Week 2-3)

    1. Get an electrician quote for the dimmable driver swaps in the rooms where dimming matters (probably 3–4 rooms). Decide which rooms get dimming vs which stay on/off.
    2. Order parts: enough Shelly Plus 1PM modules for on/off rooms, Shelly Plus 0-10V Dimmer modules for dimming rooms, plus replacement ISOLED 114225 drivers for the dimming rooms.

    Phase 4 — Rollout (Weeks 3-6)

    1. Electrician installs everything room by room. After each room, configure the new Shellys in Home Assistant, test the wall switches still work, test app/voice control.
    2. Build out automations: sunrise/sunset, presence-based lighting, scenes for different times of day.

    Phase 5 — Expansion (later)

    1. Add motion sensors, door sensors, presence detection. The Dell has plenty of CPU headroom for whatever comes next.

    What I Learned

    A few takeaways from this planning exercise that might be useful for others:

    1. Check whether your existing lights are even dimmable before you plan dimming. A non-dimmable transformer in the ceiling is a project-changing discovery, and it’s hidden behind every LED downlight in Switzerland.
    2. The smart relays approach beats smart bulbs for whole-house projects. Cheaper, more flexible, keeps existing switches working, scales better.
    3. Used corporate mini PCs are the value play for Home Assistant hosts. A 5-year-old Dell OptiPlex Micro with an i7 and 16 GB RAM, refurbished, costs less than a Raspberry Pi 5 setup and outperforms it on every dimension that matters.
    4. Don’t run Home Assistant on your NAS unless you have to. Reboots affect too many things; USB passthrough for future Zigbee dongles is fragile.
    5. Wired backhaul transforms mesh WiFi. If you have Ethernet to every room, your existing mesh system is probably better than buying new APs — you just need to use the wires.
    6. Auctions are great when the seller is great. A seller’s rating page tells you almost everything you need to know in 30 seconds. Walk away from anything questionable, even at attractive prices.
    7. Swiss electrical work needs an electrician. Plan for it from the start. The cost is real but reasonable, and the legal protection matters.
    8. Phase the rollout. One Shelly first, one room next, then expand. The first installation will surface every workflow mistake you’ve made, and fixing them once is much better than fixing them 32 times.

    What’s Next

    The auction ends in a few days. The electrician quote is queued. The Orbi is getting its firmware update tonight. By the end of the month, I should have Home Assistant running and the first Shelly module installed.

    The interesting part of this project isn’t the technology — it’s the architecture decisions that compound over years. Every choice I made above will affect what’s easy and what’s hard for the next decade of this house. Worth taking the time to get right.

    If you’re at a similar starting point, here’s the meta-lesson: the planning is more valuable than the gear. Spend the hours on the architecture and your shopping list practically writes itself. The other way around just gets you a drawer full of mismatched IoT devices and a project that never quite finishes.

    More updates as the rollout progresses. 🏠💡