How a simple question about LED spots turned into a deep dive on smart switches, electrical regulations, refurbished mini PCs, Ricardo auctions, and WiFi mesh networks — and what I learned along the way.
The Starting Point
I have 32 LED spots across three floors of my Swiss house. They’ve been there for years, controlled by traditional wall switches. Pleasant lights, simple installation, nothing fancy. But like a lot of people who’ve watched the smart home space mature, I started wondering: what would it take to integrate these into Home Assistant?
I figured this would be a quick research session. A few hours later, I had a complete project plan, a refurbished Dell mini PC on order, a fresh understanding of Swiss electrical regulations, and a list of next steps that goes well beyond “buy some smart bulbs.”
This is the story of that planning process — what I evaluated, what I decided, and what comes next. Maybe it’ll save someone else a few hours of research.
The First Question: How Do You Even Make Existing Spots Smart?
Three real paths emerged:
Smart bulbs (replace each GU10/MR16 with a Hue, IKEA Tradfri, or similar). Pros: per-bulb control, easy to install. Cons: 32 bulbs at CHF 15–40 each is a serious price tag, and the physical wall switch must stay on permanently or the bulbs disconnect.
Smart switches/dimmers (replace the wall switches themselves with smart versions). Works, but Swiss wall boxes are small and many fancier switches don’t fit.
Smart relays behind the wall switches (small modules tucked into the existing flush-mount boxes). This is the path that works best in Switzerland, and the local favorite is Shelly — making devices designed specifically for these installations.
The Shelly approach has a beautiful logic: my 32 spots aren’t on 32 switches — they’re grouped into maybe 8–12 circuits across rooms. So I’d only need 8–12 Shelly modules, not 32. The existing wall switches keep working normally. Everything sits invisibly behind the wall.
I had my architecture. Now I needed to know if my lights were dimmable.
The Dimming Discovery
Pulled out one of my ceiling spots and found the LED driver tucked into the ceiling cavity: an ISOLED 113054, a 24V DC constant-voltage transformer feeding low-voltage LED modules.
I looked up the spec sheet. The exact words were Dimmbar: Nein. Not dimmable. At all.
This was a real moment in the planning. It meant:
- A standard Shelly Dimmer 2 (phase-cut dimming) would not work on this circuit. Putting a phase-cut dimmer in front of a non-dimmable transformer either does nothing, buzzes, or destroys the transformer.
- To get dimming, I’d need to swap the transformers themselves for dimmable versions. ISOLED makes pin-compatible 1–10V dimmable models (the 114225) and DALI versions (114226, 116208).
So my options crystallized into three:
- On/off only with Shelly Plus 1PM behind each switch. Cheap, easy, gets me Home Assistant integration with no electrical work beyond installing the small relay module.
- Replace the drivers for dimming. ISOLED 114225 (1–10V dimmable) paired with a Shelly Plus 0–10V Dimmer. More money, more electrical work, but real dimming.
- Smart bulbs. Doesn’t apply here — these aren’t standard GU10s, they’re integrated 24V modules.
The pragmatic answer became: mix and match. Use option 1 for rooms where I just want on/off (hallway, cellar, bathrooms, outdoor). Use option 2 only in rooms where dimming actually matters — living room, dining area, bedroom. That keeps costs and labor manageable.
The Swiss Regulation Reality Check
One thing I had to internalize quickly: in Switzerland, hardwired electrical work legally requires a licensed electrician (the NIV regulations). Swapping transformers and adding control wires isn’t something a homeowner can legally do themselves, even if they have the skill. The work also needs a Sicherheitsnachweis (SiNa) for insurance purposes.
So my plan now includes a quote from an electrician for the driver swaps in the rooms where I want dimming. Probably 30–45 minutes per location at CHF 120–180/hour. Add parts (~CHF 50–70 per driver, ~CHF 50 per Shelly dimmer module) and the per-room cost for dimming is something like CHF 200–300.
For the on/off rooms, the Shelly 1PM modules are cheaper (~CHF 30 each) and the work is simpler, but the same legal framework applies.
The Home Assistant Host Question
With the smart home architecture decided, I needed something to actually run Home Assistant on. This turned into its own rabbit hole.
I evaluated, in order:
- My Synology DS218+ — only 2 GB RAM, would need a CHF 40 RAM upgrade to be viable, then it’s running HA in a VM with all the usual NAS-VM caveats. Possible, but the NAS also handles photos and files, and I didn’t love the idea of “reboot NAS → lights go dark.”
- My old Raspberry Pi 3 B+ — works in principle but only 1 GB RAM, USB 2.0, slow boot times. Fine to learn HA on, not where you’d park a permanent installation.
- My 2018 MacBook Pro with a broken display — the T2 chip makes bare-metal Linux/HAOS painful, would need to run it as a VM under macOS with all the sleep/heat workarounds. Plus, it’s worth CHF 250+ on Ricardo even broken; better to sell it and use the proceeds.
- New Beelink S12 Pro / Mini PC — perfect specs but CHF 200–340 for what’s essentially overkill for HA.
- Mac mini 2014 — CHF 90 with an SSD upgrade. Older but adequate.
- Used corporate mini PCs on Ricardo — the sweet spot.
The “used corporate mini PC” path turned out to be where the real value lives. Companies retire fleets of Lenovo ThinkCentre, HP EliteDesk, and Dell OptiPlex Micro/Tiny machines every few years, and they end up on Ricardo and tutti.ch for CHF 80–150. They were built for 24/7 office use, they’re well-cooled, and they run x86 Linux flawlessly.
The Winner: Dell OptiPlex 7050 Micro
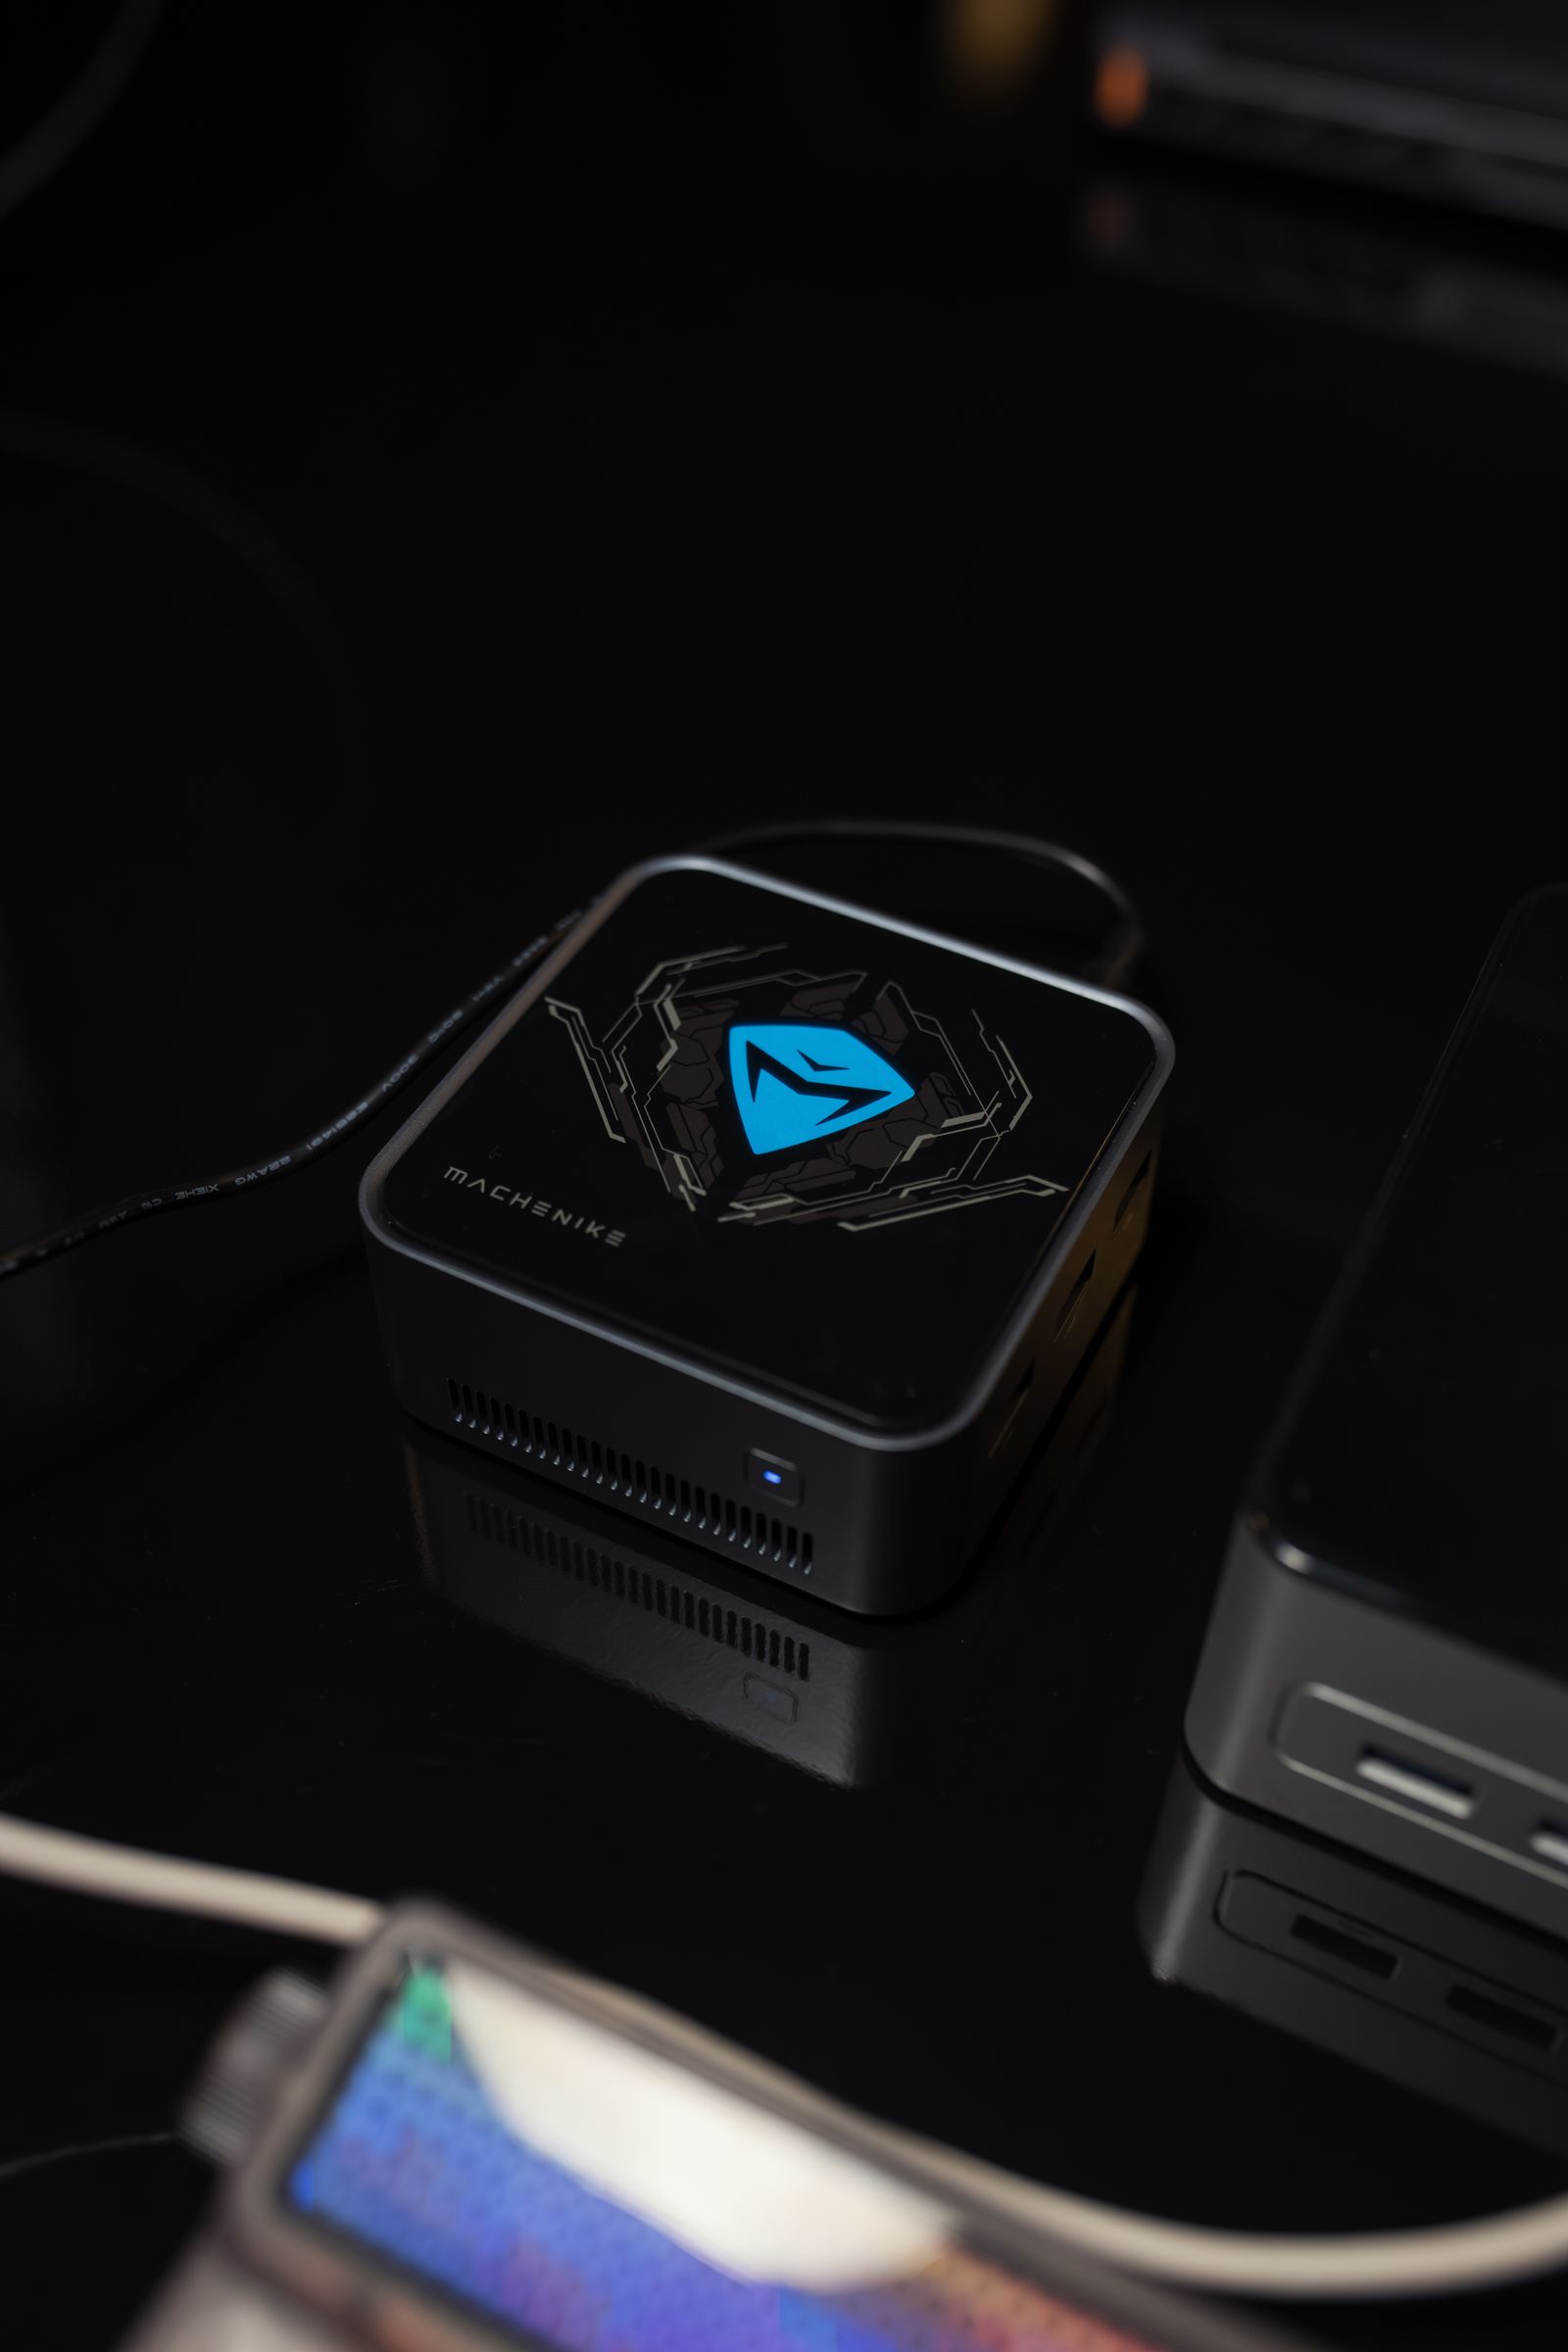
I looked at several listings — a Lenovo M93p at CHF 92, an HP EliteDesk 800 G2 at CHF 100 (but only 4 GB RAM), a Ricardo auction for an OptiPlex with a 13th-gen i5 that turned out to have a sketchy seller history. Then I found it:
Dell OptiPlex 7050 Micro with:
- Intel i7-6700T (4 cores / 8 threads, hyperthreading)
- 16 GB DDR4 RAM
- 256 GB Samsung NVMe SSD
- Listed at CHF 95 (current auction bid)
- Seller with 100% positive rating across 38 transactions
- Detailed listing: thermal paste replaced, fan dust-cleaned, Dell diagnostics confirmed clean, honest acknowledgment of “Gebrauchspuren”
The seller even sent interior photos showing a clean Samsung PM981 NVMe drive, a properly seated WiFi card, and the blue HDD caddy ready for future 2.5” SATA expansion. This is enthusiast-grade refurbishing, not “clearing out old junk.”
Hardware decision: settled. Max auction bid set at CHF 150 (still a great deal at that price), with a fallback plan to grab the Lenovo M93p for CHF 92 if I get outbid. Either path lands me a perfectly capable HA host for less than CHF 100 in most scenarios.
The Network Surprise
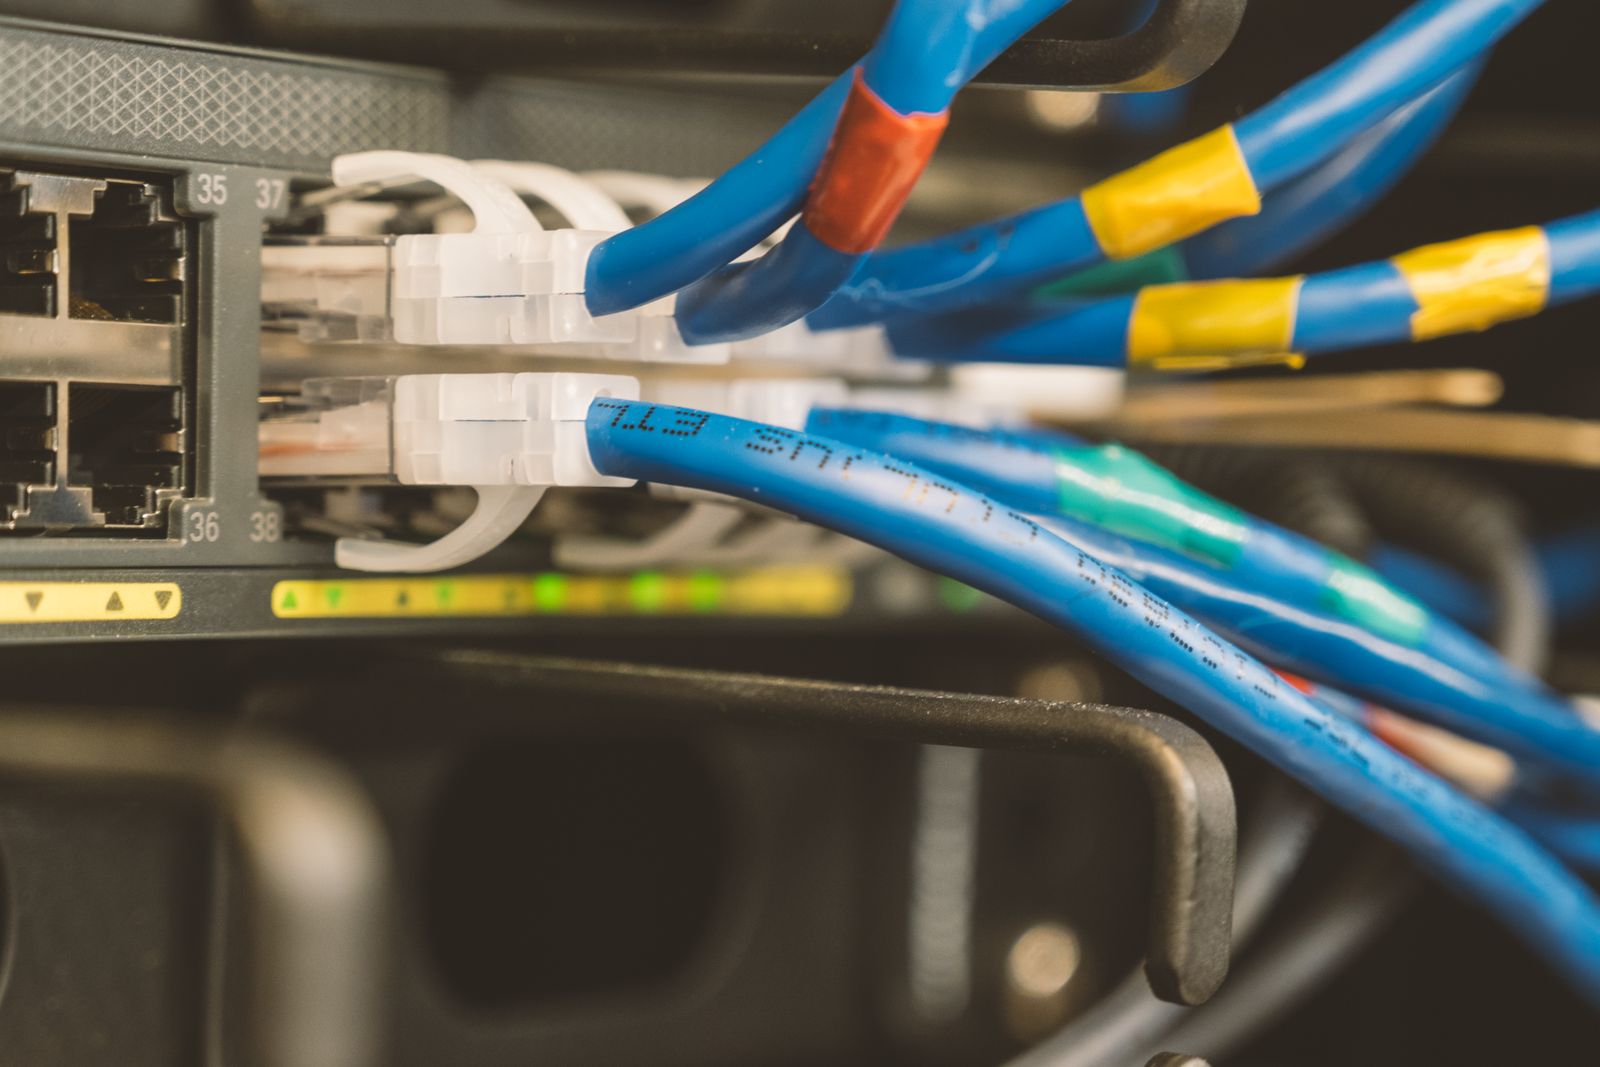
Just when I thought the planning was done, I noticed something I’d half-known but never fully thought about: my house has Cat7 ethernet cables running from every room to a central passive patch panel. The previous owners had wired the place for proper networking.
And the WiFi already running on top of it is a Netgear Orbi RBE771 — a WiFi 7 mesh system with one router and two satellites. Premium consumer networking, originally CHF 600–800.
This changed the network plan significantly:
- No need to buy access points. The Orbi system is already better than what I would have recommended.
- Use wired backhaul. Plug each Orbi satellite into a Cat7 jack at the patch panel side. The satellites detect this automatically and switch from wireless mesh to Ethernet backhaul, which dramatically improves speed, latency, and reliability for every device — including the 32 Shellys that will eventually live on the WiFi.
- Create a dedicated IoT SSID. Separate 2.4GHz-only network for Shellys, isolated from the main WiFi. Better performance, better security, easier troubleshooting.
- Place the HA server at the patch panel. Wired Ethernet directly to the router, centrally located, easy to maintain.
A cheap Gigabit switch (TP-Link TL-SG108 at CHF 25) plugged into one of the Orbi’s LAN ports gives me enough ports for the HA server, the satellites, and future expansion. No need for anything fancier — every device in this setup tops out at Gigabit anyway.
The Final Stack
After all this evaluation, here’s what the system looks like:
[Internet/Modem]
      │
[Orbi Router] (at patch panel, wired)
      │
[Cheap 8-port Gigabit Switch]
      │
      ├── Cat7 → [Orbi Satellite — Floor 2]
      ├── Cat7 → [Orbi Satellite — Floor 3]
      ├── Cat7 → [Dell HA Server]
      └── Cat7 → (future devices)
                 │
                 ▼
            [WiFi: IoT SSID, 2.4 GHz]
                 │
                 ├── Shelly Plus 1PM × ~8 (on/off rooms)
                 └── Shelly Plus 0-10V Dimmer × ~4 (dimming rooms)
                       │
                       └── ISOLED 114225 drivers (replacing 113054s)
                             │
                             └── 32 existing LED spots
The Implementation Plan
The order of operations matters. Doing this wrong means doing it twice.
Phase 1 — Foundation (Week 1)
- Win (or lose) the Dell auction. If won, install Home Assistant OS on it from a USB stick (15 minutes), set up basic dashboard, give myself an admin account.
- Configure the Orbi system: update firmware, switch satellites to wired backhaul, create the IoT SSID, set a DHCP reservation for the HA server.
- Add the small Gigabit switch at the patch panel for extra ports.
Phase 2 — First Shelly (Week 2)
- Pick one easy circuit — a hallway light, somewhere low-stakes. Have the electrician install one Shelly Plus 1PM behind that switch.
- Configure it on the IoT WiFi, integrate into Home Assistant, get the full workflow working end-to-end. The mistakes made here are free.
Phase 3 — Driver evaluation and quotes (Week 2-3)
- Get an electrician quote for the dimmable driver swaps in the rooms where dimming matters (probably 3–4 rooms). Decide which rooms get dimming vs which stay on/off.
- Order parts: enough Shelly Plus 1PM modules for on/off rooms, Shelly Plus 0-10V Dimmer modules for dimming rooms, plus replacement ISOLED 114225 drivers for the dimming rooms.
Phase 4 — Rollout (Weeks 3-6)
- Electrician installs everything room by room. After each room, configure the new Shellys in Home Assistant, test the wall switches still work, test app/voice control.
- Build out automations: sunrise/sunset, presence-based lighting, scenes for different times of day.
Phase 5 — Expansion (later)
- Add motion sensors, door sensors, presence detection. The Dell has plenty of CPU headroom for whatever comes next.
What I Learned
A few takeaways from this planning exercise that might be useful for others:
- Check whether your existing lights are even dimmable before you plan dimming. A non-dimmable transformer in the ceiling is a project-changing discovery, and it’s hidden behind every LED downlight in Switzerland.
- The smart relays approach beats smart bulbs for whole-house projects. Cheaper, more flexible, keeps existing switches working, scales better.
- Used corporate mini PCs are the value play for Home Assistant hosts. A 5-year-old Dell OptiPlex Micro with an i7 and 16 GB RAM, refurbished, costs less than a Raspberry Pi 5 setup and outperforms it on every dimension that matters.
- Don’t run Home Assistant on your NAS unless you have to. Reboots affect too many things; USB passthrough for future Zigbee dongles is fragile.
- Wired backhaul transforms mesh WiFi. If you have Ethernet to every room, your existing mesh system is probably better than buying new APs — you just need to use the wires.
- Auctions are great when the seller is great. A seller’s rating page tells you almost everything you need to know in 30 seconds. Walk away from anything questionable, even at attractive prices.
- Swiss electrical work needs an electrician. Plan for it from the start. The cost is real but reasonable, and the legal protection matters.
- Phase the rollout. One Shelly first, one room next, then expand. The first installation will surface every workflow mistake you’ve made, and fixing them once is much better than fixing them 32 times.
What’s Next
The auction ends in a few days. The electrician quote is queued. The Orbi is getting its firmware update tonight. By the end of the month, I should have Home Assistant running and the first Shelly module installed.
The interesting part of this project isn’t the technology — it’s the architecture decisions that compound over years. Every choice I made above will affect what’s easy and what’s hard for the next decade of this house. Worth taking the time to get right.
If you’re at a similar starting point, here’s the meta-lesson: the planning is more valuable than the gear. Spend the hours on the architecture and your shopping list practically writes itself. The other way around just gets you a drawer full of mismatched IoT devices and a project that never quite finishes.
More updates as the rollout progresses. 🏠💡
Leave a Reply